Prologue
I have been struggling to write my traditional end-of-year post as I am filled with a sense of melancholy after catching the dreaded COVID and now using the Christmas holidays to get some respite.
The Christmas spirit of 2022 has passed me by and as a result, been experiencing "Scrooge Syndrome". This is quite possibly due to COVID ruining my plans or maybe because I am just getting too old for the festive holidays and my child-like sense of wonder is getting sucked out of me with each year that passes.
I am hoping my recovery into the new year will be reignited and where normal service will be resumed.
Anyway, without further ado, let the end-of-year post begin.
2022 In Words/Phrases
New site, Tailwind CSS, Wedding (part 2), India, Cotswolds, Tanking UK Economy, Netlify, Hubspot, Lego Ford Mustang, Stocks and Shares, Investments, Pixel 7 Pro, Writing, Spousal Visa, COVID Positive, Lots of writing, Anime
Statistics
A few months into the year, organic search stats dipped considerably, which led me to think that some of the content I was posting was not as relevant as I hoped. At this point, I thought I'd hit the glass ceiling... something that I've come to terms with since noticing the year-on-year positive increase in visitor and organic searches.
The dip continued for 3-4 months, but carried on as normal and was more so determined to stay the course. Out of all the years of blogging, this was the year I felt most inspired and truly at an ease with writing and (thankfully!) managed to recoup the loss of traction. It was from quarter three of the year onwards that there was a substantial uptake in daily site visitors.
Writing blog posts about Google Apps Scripts, Active Campaign and Azure were the top performing pages and helped drive traffic.
I would say the most rewarding takeaway from this year is noticing increased readership based on recently written posts compared to older ones written from previous years.
2021/2022 Comparison:
- Users: +14.86%
- Page Views: +14.49%
- New Users: +15.33%
- Bounce Rate: -0.51%
- Search Console Total Clicks: +97.18%
- Search Console Impressions: +109%
- Search Console Page Position: -2.4%
Record-breaking Number of Posts
For the first time in my years of blogging, I have managed to publish the highest number of posts within a year - 29 (including this one)! I cannot say what the reason for this could be as this year has been very manic.
Next year, I think I will slow down a bit and write a smaller number of posts that are longer in content.
It was satisfying to see increased viewership on most recently written posts over 2022 and 2021.
Caught The COVID
I caught COVID in mid-December for what I believed was the second time after encountering it at the start of 2020 (back when tests weren't even a thing). Based on how I felt during the first time was completely different second-time round, which made me question if my most recent encounter was in fact the first. I felt dreadful for a longer period when compared to my experiences back in 2020.
I am coasting through the Christmas holidays in recovery mode and trying to enjoy the simpler things life has to offer... when you feel like doing absolutely nothing.
New Website!
At the end of last year, I was learning the Tailwind CSS framework to see if it could be used to build a template for this website. It didn't take long for me to get the hang of building pages due to the wide variety of pre-built components available online for me to tinker with and easy-to-follow documentation.
If it wasn't for the Tailwind CSS framework, I don't think I would have had the patience nor the skill to build my website template using native HTML and CSS alone. I was surprised at the quick turnaround time. By July the site refresh as well as some updates under the hood was released.
I am just thankful this finally happened! After many "year in review" posts where I've repeatedly stated the plan to redevelop my site (and failed to do so!), this was the year where I managed to make this happen. The words I've written have never looked so good!
There are still some minor tweaks I would like to carry out next year, such as a dark mode feature and re-integrate Algolia search.
Further details on my site rebuild can be read here: New Website Built with Tailwind CSS and GatsbyJS.
Stocks and Investments
Ever since getting married, making my money work harder has been at the forefront of my mind. I read that if you're not making money whilst you're sleeping or do not have an additional revenue stream, then you'll never truly have financial freedom. Stocks and investments were something I initially got exposure to through my use of the Plum savings app I started using during 2020, where it would automatically make investments on my behalf based on a list of predefined sector portfolios.
This year I decided to break away from the Plum app-managed investments and start building my own stock portfolio. It took me a little while to get the confidence to do this and my first few trades were small in value just to test the waters.
So far it has proven to be an enjoyable learning curve that has bore fruit. I plan to write more in the future on how my investments are progressing which will be housed under the new Finance category.
As it stands, my investment strategy has changed slightly since writing my very first post about the subject. My investments consist of:
- ETF Index Funds
- Renewable Energy
- Tech companies
I feel like there is no time like the present to make as much money as I can whilst I have little dependencies, especially as I have come to the investment game late in my life. Sometimes I kick myself for not having the knowledge that I have now when I was 25. I truly believe I could have been better off financially. I have to be realistic about the expected return of investment and have a 5-10 year plan on seeing where this takes me.
14th January 2023 will mark exactly a year since I took control of my investment portfolio. I will be checking my MWRR (money-weighted rate of return) to tell me how much my portfolio has increased or decreased in value since making my first deposit.
Lego Ford Mustang Build
I’ve finally found time during the year to complete this Lego model. All it took was a couple of hours over a handful of weekends. Being someone who hasn’t built any Lego models since I was a child, I felt a little rusty and I have to admit, due to the sheer number of intricate pieces there were countless times when I lost my patience during the build process.
Nevertheless, you can’t help but appreciate all the features the Lego creators have managed to cram into the model. The end product is a work of art and wouldn’t mind building another if the right model were to come along.
Overall, a satisfactory build and a worthy addition to my office.
Anime TV Shows
I think getting COVID has changed my viewing habits and was surprised to find that I quite enjoyed watching a handful of Anime shows on Netflix to keep me entertained as I didn't have the focus or patience during the recovery period to watch anything that required too much thinking.
So far I have watched:
- Thermae Romae Novae: The adventures of a passionate Roman bath architect who starts randomly moving back and forth through time to present-day Japan, where he finds inspiration in the bathing innovations he finds. Watching this makes me want to travel to Japan and relax in one of their old-fashioned Onsen.
- Howl's Moving Castle: The film in the most simplistic terms is about a teenager who works at a hat shop and gets transformed into an old woman by a witch who curses her. Even if you're not entirely invested in the story, you'll be entertained by the beautiful animation that is truly a feast for the eyes.
- Kotaro Lives Alone: A lonely 4-year-old boy moves into an apartment building on his own and is befriended by his neighbours. Each episode touches on serious issues of abandonment, friendship, and life with a heartfelt and somewhat comedic effect.
I am not sure if Anime based shows will continue to garner my attention in the future, but I very much appreciate what I have watched so far.
Goals for 2023
I think for 2023, a more realistic set of goals is in order. I'll plan on focusing more on life-orientated goals over planned achievements within my career.
Workout and General Exercising
I really need to get back into regular exercise as I have been quite lax in this department over the year. I used to schedule a workout a minimum of three times a week, which has now reduced to zero. I will start slowly by conditioning my body with light cardio initially and work my way to proper workouts.
Get Back Into Reading
I would like to allocate time to read more as I have a stagnant bookshelf that has not changed for quite some time. Being someone technical who lives and breathes the industry every hour of the day, I feel it would be a healthy change to diversify my focus.
I miss getting lost in a novel and transporting myself into another world. I know the very book I want to sink my teeth into to get me back into reading: The Thursday Murder Club.
There are also some finance-related books on my reading list I can delve into to assist further in my investment knowledge in between fictional storytelling.
Less WhatsApp'ing, More Phone Calling
I am someone who prefers to just send a quick message via WhatsApp (to the dismay of my sister) rather than grabbing the phone, placing it to my ear and starting an actual conversation.
Sending a message is fine in day-to-day life, but should it be used so regularly that subconsciously it could cause a degree of separation to the very person who you are communicating with?
The answer is: No.
Most of the time on a daily basis I am overwhelmed with what life throws at me. The multitude of things that occur both within work and personal life is a juggling act. I am not the best juggler. As a result, having a proper conversation with a friend or family member has always taken a back seat.
I think out of all my goals for next year, this one is going to be the toughest. As they say: The first step to change is knowing you have a problem... And I have a problem.
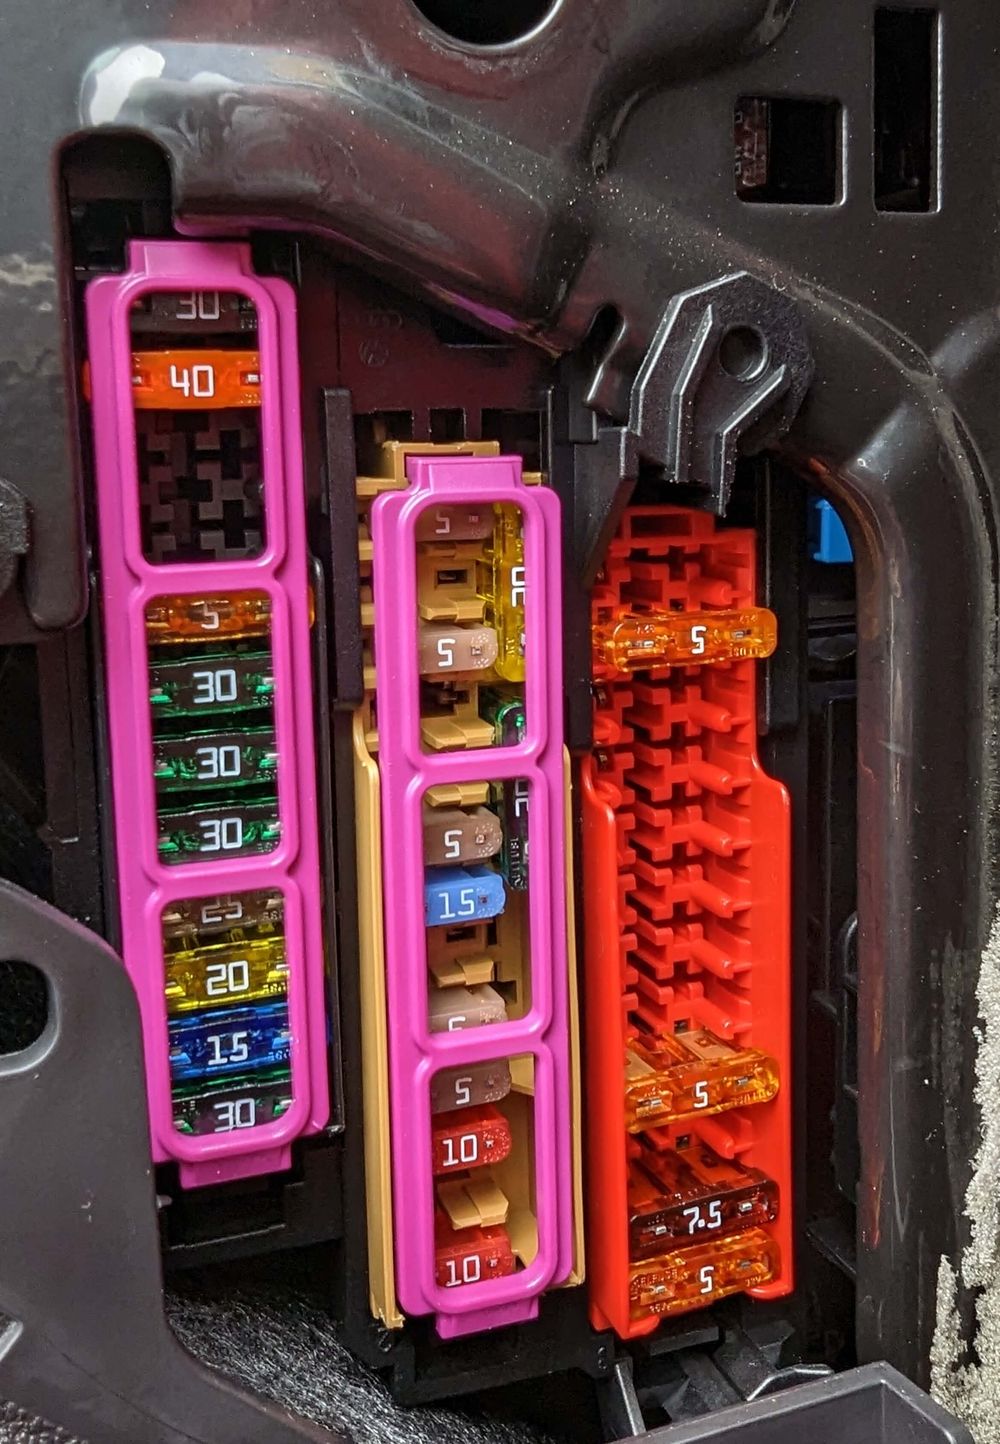
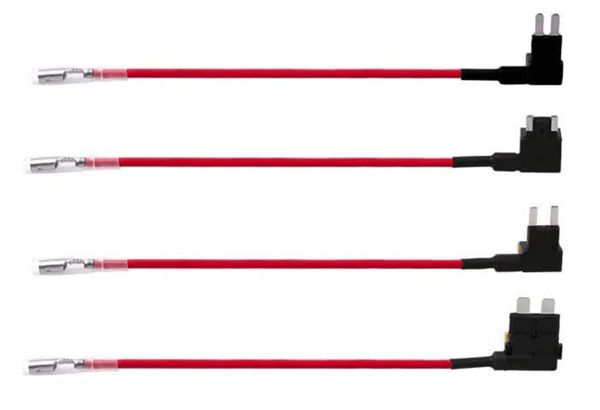
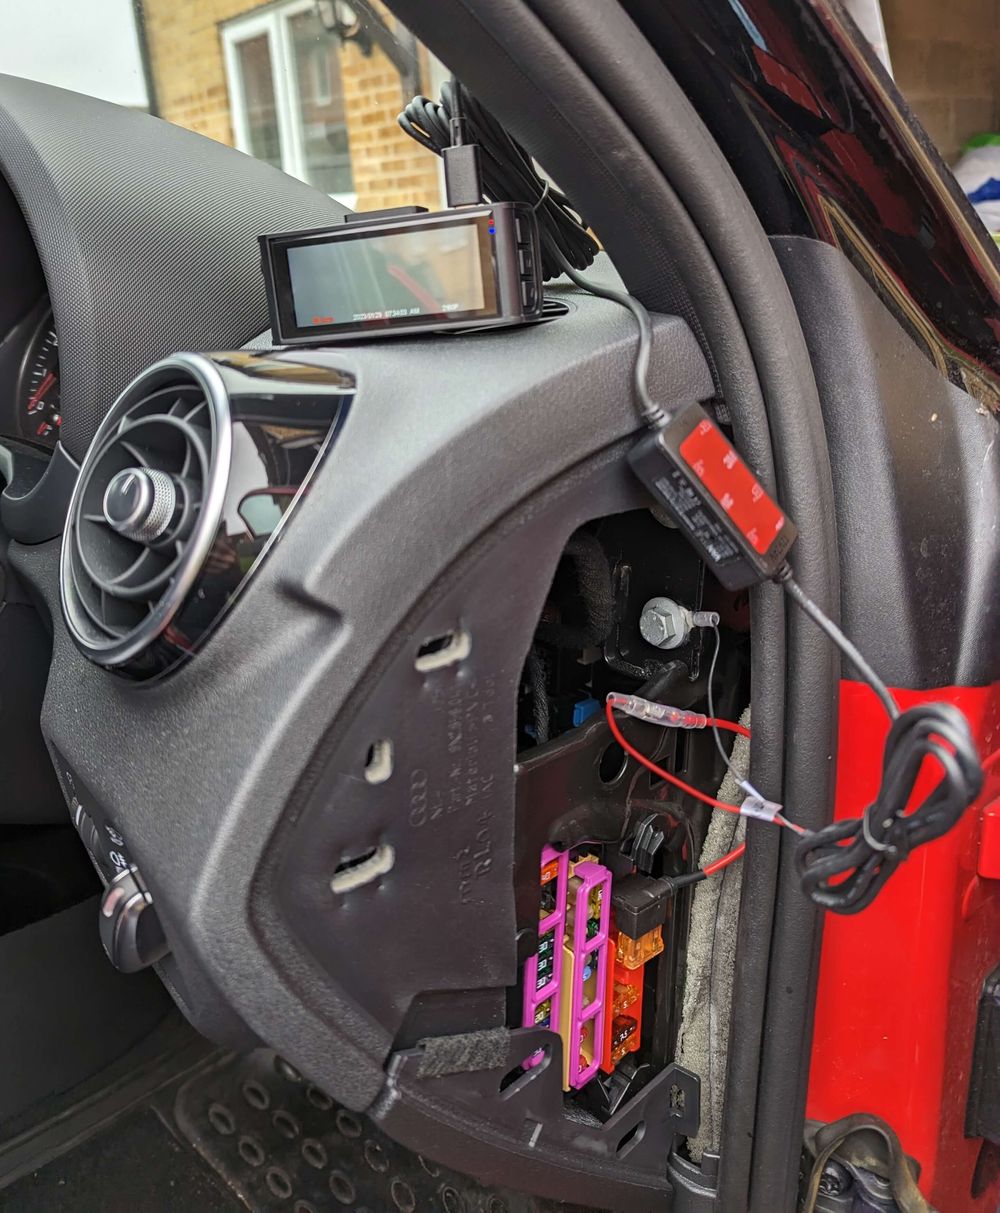
DIY Project: Hardwire A Front and Rear Dashcam
I am quite protective of my car. It’s my pride and joy that I like to keep in showroom condition. Unfortunately, it is not in showroom condition anymore ever since my car was damaged whilst I was in a part of London I generally hate driving in. Luckily, my car managed to come out relatively unscathed with some battle scars that require repair.
From this point, it seemed natural I should purchase a dashcam for an added layer of protection and peace of mind. Come 2023, I plan on carrying out a hardwire installation where the dashcam will be powered directly by the car's battery. I’ve never done this before and am quite excited about the installation process.
Be The Person I Want To Be
I've come to the realisation that in some cases I am not the person I want to be and started inheriting what others want me to be. This comes from a single point of trying to please others and now is the time to have a factory reset without fear of reprisal whatever the outcome may be.
Photography
My FujiFilm X100F has been gathering dust since my last proper holiday to the Maldives back in 2019 and since then I've been utilising my phone for taking pictures for every occasion. Now that I own a Pixel 7 Pro that has a fantastic camera array producing truly beautiful pictures, makes getting the FujiFilm camera out is even harder.
I miss holding a traditional camera and next year I plan on taking it with me on even the smallest outing.
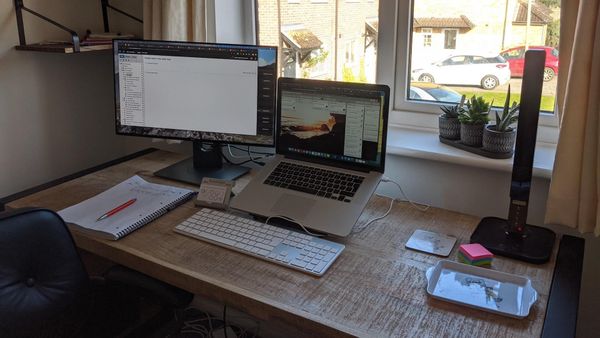
Desk Upgrade
This isn't a priority. But with each day I work from home, the more I feel that a standing desk would be a worthy investment for my posture and general health. In addition, I noticed the majority of standing desks result in less clutter and more organisation due to cable management and add-on accessories to make better use of space.
I have my eye on a Secretlab MAGNUS PRO. It's a desk that combines both form and function!
Final Thoughts
This tiny piece of the internet gives me so much joy to share thoughts and impart the knowledge some may deem useful. Thank you all for reading and see you in the new year.