I've always considered time an enemy as I always had a disdain for how fast the hours and days would just fly by. The speed dial seems to turn a little more further with every year that passes and then one day you wake up and you're the big 3-5!
Ever since the pandemic hit, time has become an enemy once again but for a different reason entirely... It just goes sooo slow! On top of that how one would normally progress themselves (for business and pleasure) before the pandemic is no longer within our reach. With the combination of living on my own and a somewhat lack of social interactions, you can easily find yourself just letting time pass doing a whole lot of nothing.
The following quote by Delmore Schwartz, an American poet, resonates with me:
Time is the school in which we learn,
Time is the fire in which we burn.
The worst thing I can do is let time pass and have nothing to show for it. There is a need for something tangible to prove my worth over this period to look back on. For me, writing about what I've learnt is something I can use to quantify progress and this very post just adds to that. I am hoping this will be the fuel to focus on cranking out more posts throughout the year.
I decided to write about the areas in my life that give me the ability to hone my skill set and the process involved.
The Workaholic
Most of my learning happens in a work environment as I am constantly allowed to work on upcoming technologies and platforms. This is probably the reason why I’ve become quite the workaholic. I’m lucky to be in a job that is of great interest to me where I can flex my technical muscle. I am constantly learning new things based on challenging client requirements and that in itself plants the seeds on what I need to learn next.
In the UK, the average working hours per week is 42.5 - above the European average of 41.2. I generally work 45-50 hours a week and that’s not to brag. It’s fun and I genuinely enjoy it. Maybe working from home has also contributed to this. After all, there is nothing else to do in the current climate we find ourselves in.
So far, this year alone, I've learnt the following within a working environment:
- Azure Functions
- Azure DevOps
- Hubspot
- Hubspot API Development
- Ucommerce
The Daily 30-Minute Cram Session
Mastering something is just a matter of investing some time no matter how short a learning session is. As minutes become hours and hours become days, it all adds up.
I have a regiment where my day starts with a quick 30-minute learning session on a subject of interest to me. It’s quite surprising how effective a 30-minute cram session can be. I have progressed through my career and adapted to learning new subjects quicker by doing just this. This has benefitted me in other areas: preparing for meetings.
There have been numerous times within my job where I have to be in client meetings to talk about platforms that may be a little foreign to me and provide solutions. I now feel relatively confident that I'm prepared for such a meeting within a short period of 30 minutes.
At the time of writing, my current 30-minute cram sessions are focused on Hubspot development to push the boundaries on what the platform can do and keeping up with Azure’s vast offerings.
Focus Time
I have my "30 Minute Cram Session" but when is the best time to do them? I find the most ideal time is the start of a working day where I get to my desk an hour before the working day starts. Normally, this would be impossible pre-Covid times, as this time would be spent getting my things together and making my way to work. Throughout the pandemic, I have continued to get up at my normal time so I can get to my desk by 8 am.
I find it amazing what this one hour of solitude can give me. I either use to extend a "30 Minute Cram Session" for reading and research or to just get through some tasks before the working day starts. After the pandemic is over and normal life resumes, I hope this can continue.
Creating A Knowledgebase Through Blogging
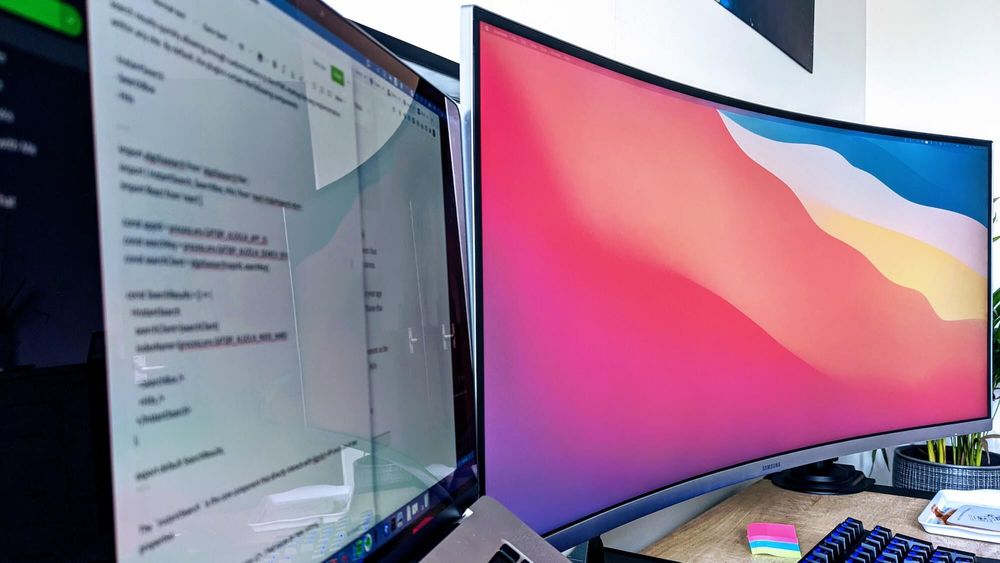
Being the forgetful person I am (just ask my mum!), I find I remember things more when I write about them - one of the main reasons I started this blog. It allows my brain to process big subjects into more digestible chunks. To aid this further, I added Algolia search to my site at the start of the year, as there have been several times where it's taken me too much time to find something I've previously written.
I have quite a backlog of stuff that I want to write and sometimes I find it difficult to put some technical subjects into words. Believe it or not, I generally find writing a little difficult even after 10+ years of blogging. But I like this challenge.
My approach to writing blog posts is a little unconventional. I work on a handful at a time. Each post starts in my note-taking application of choice, Evernote, where I can start things off simple with a subject title, a skeletal structure to then flesh out. I then write in small chunks across various posts.
Twitter
I may not post much to Twitter, but I follow people who either work in the same industry like me or those who instil similar interests. The conversations that are had on the platform open my eyes to other areas I should be looking into. As a result, this breaks the monotony of approaching something I've been doing the same for so long and try a different approach. It was tweets that got me into seeing the power of Azure Functions and provided an alternative way of running a piece of code on a schedule effortlessly.
Ongoing List of Ideas
Along with my pile of "in progress" blog posts to write, I also have a to-do list of potential things I want to work on. It could be random things of interest based on what I see day-to-day.
For example, I am currently looking into creating my own Twitter bot (not the spamming kind) that carries out some form of automation. I see quite a few of these bots when checking Twitter and interested to see how I could create my own.
I don't plan on developing anything fancy, such as the very impressive colorize_bot, where black and white images are made colour by simply mentioning the Colorize Bot Twitter handle. But maybe something a little more reserved, such as some textual response based on a hashtag or phrase.
Putting such ideas into practice is the prime environment to learning as I'm developing something that is of interest to me personally on a subject that excites me.