I've owned my first Synology device - the DS415Play for over eight years. It has been my true day-to-day workhorse, which never faltered whilst churning through multiple downloads and uploads 24 hours a day, 7 days a week, 12 months a year since 2015. It's been one of the most reliable pieces of computer-related hardware I've ever owned.
Unfortunately, I started to outgrow the device from a CPU, RAM and (most importantly!) hard-drive capacity standpoint and the need for regular restarting became the norm to resolve performance-related issues.
The performance issues are also caused indirectly by the fact that my NAS isn't solely used by me, but also by my parents and wife where photos are viewed/backed up, documents are stored and videos are streamed.
The most natural route was to move to stick with Synology and move to one of their larger and expandable NAS devices. The DS1821+ ticked all my requirements:
- Quad-core 2.2Ghz processor
- 8 bay Hard Drive capacity
- Upgradeable RAM
- NVMe Cache slots
- Improved scalability
Focusing on the potential for expansion should mean I won't hit the "hardware glass-ceiling" for many years, which was, unfortunately, the case with my DS415Play. I truly believe that if the DS415Play had the potential for some form of expansion, such as increasing the amount of RAM, it would solve the majority of my usage issues.
Migrating From One Synology to Another
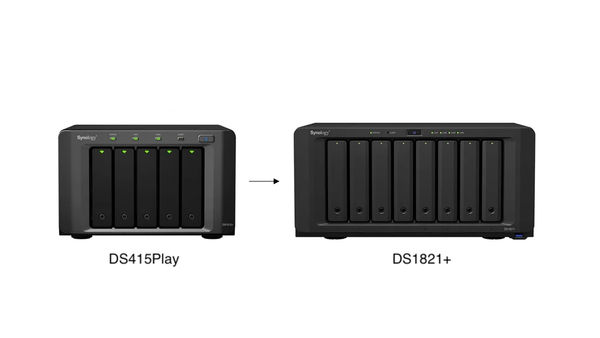
I was under the misconception that migrating from one Synology device to another would be as simple as moving the existing drives over. However, this was not the case due to a variety of factors:
- Age: Lack of straightforward compatible migration approaches from older NAS models.
- "Value" model discrimination: DS415Play is considered a "value" model and no straightforward migration route is available when upgrading to a "plus" model.
- Difference in Package Architecture: If the source and destination NAS use different package architectures may result in DSM configurations and package settings being lost after migration. You can only migrate drives to models with the same package architecture as your source NAS.
- Direct Ethernet Connection: Data cannot be copied over via a direct connection between both devices.
The How To Migration tutorial provided by Synology raised more questions about how I should move my data and configuration settings. Out of the three methods proposed (Migration Assistant/HDD Migration/Hyper Backup), there was only one approach that applied to me - Hyper Backup.
Manual Copy and Paste To USB Drive
Before settling with Hyper Backup, I decided to carry out a direct copy-and-paste approach of each user's home directory from Synology to an external USB Drive. I thought this might be a less process-intensive and quickest way to move the data. - No Synology app-related overhead that could cause my DS415Play to grind to a halt.
However, I quickly realised this could come to the detriment of the integrity and overall completeness of the backup. My NAS was still getting used daily and there was a high chance of missing new files and updates.
With Hyper Backup, I could carry out a full backup initially and then schedule incremental backups nightly until I was ready to make the switch to DS1821+.
Hyper Backup
At the time, unbeknownst to me, this would prove to be a right pain. I knew from the start that moving around 5TB of data would be time-consuming but I didn't factor in the additional trial and error investigation time just to complete this task.
To ensure smooth uninterrupted running, I disabled all photo and file indexing.
Avoiding Slow Backup Speeds
The backup procedure wasn't as straightforward as I'd hoped. Early on I experienced very slow backup speeds. This is down to the type of "Local Folder & USB" backup option selected in Hyper Backup. There is a vast difference in transfer speeds:
- Local Folder & USB (single-version): 10MB - 60MB/s
- Local Folder & USB: 0 - 1.2MB/s with longer gaps of no transfer speed
To reduce any further overhead, compression and encryption were also disabled.
Additional steps were also taken, such as reformatting the external hard drive to ext4 format and enabling the "Enable delayed allocation for EXT4" setting from the Control Panel.
What is delayed allocation?
All byte writes are cached into RAM and it's only when all the byte writes have finished and the file is closed then the data is copied out of the cache and then written to the drive.
The potential disadvantage of enabling this setting is the drive is more vulnerable to data loss in the event of a power outage.
Make Use of The High-speed USB Port
Older Synology models have front and rear USB ports. To further aid in faster data transfer, be sure to connect the external hard drive to the rear USB port as this will be USB 3.0 - a better option over the slower USB 2.0 port provided at the front.
Backup Strategy
Once I had Hyper Backup running in the most efficient way, I created three backup tasks so the restore process could be staggered:
- User Home Directories: Everything within the /homes path.
- Photos: DS Photo-related files that have yet to properly be migrated over to Synology Photos
- Application Settings*: Settings and configuration for the key apps that I use. This doesn't include any physical files the app manages.
* Only the "Local Folder & USB" backup type has the option to allow application settings to be solely backed up. Transfer speeds were not a concern as the settings have a very minimal file size.
Once a full backup was completed, a nightly schedule was set to ensure all backups were up-to-date whilst I waited for some new hard drives for the DS1821+.
Restore
Restoring the backed-up data was a lot more straightforward than the backup process itself. The only delay was waiting for the new hard drives to arrive.
New Hard Drives
Due to the limitations posed by the only migration approach applicable to me, new drives had to be purchased. This was an unexpected additional cost as I hoped to re-use the 8TB worth of drives I already had in my DS415Play.
I decided to invest in larger capacity drives to make the most of the 8-bays now at my disposal. Two 8TB Western Digital Reds are just what was required.
Setup and Restore Process
Utilising new hard drives was actually a refreshing way to start getting things going with the DS1821+, as any missteps I made as a new Synology owner when originally setting up the DS415Play could be corrected.
Once the drives were installed, the following restore process was carried out:
- Install DSM 7.1.
- Create Drive Storage Pools.
- Install applications.
- Re-create all user profiles using the same details and usernames.
- Using Hyper Backup, copy all files into each home directory.
- Ensure each user's home folder and child directories are assigned with the correct permissions and are only accessible by the user account.
- Restore the /photo directory.
- Login to Synology Account in Control Panel and restore all DSM configuration settings from online backup - minus user profiles.
- Restore application settings (backup task number 3) using Hyper Backup.
It was only after restoring the DSM configuration settings (point 8), that I realised user profiles including permissions could be restored.
DSM Configuration Backup Items
- File Sharing: Shared Folder, File Services, User & Group, Domain/LDAP
- Connectivity: External Access, Network, Security, Terminal & SNMP
- System: Login Portal, Regional Options, Notification, Update & Restore
- Services: Application Privileges, Index Service, Task Scheduler
Over Network File Restoration
I decided to limit the use of over-network file copying to just the final leg of the restoration journey to handle some of the less important/replaceable files.
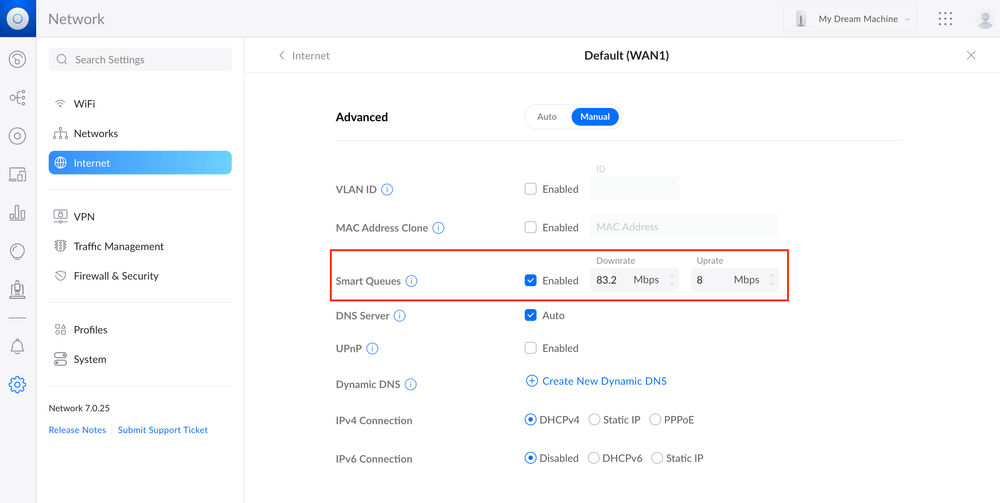
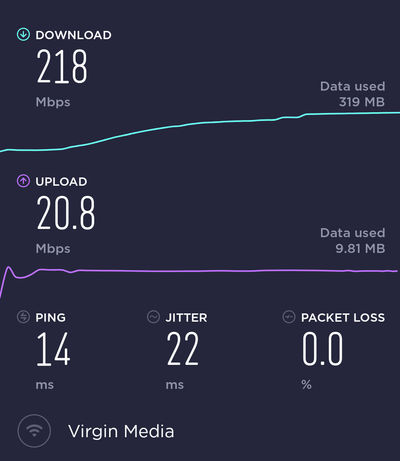
I would only recommend over-network file copying if you have a fast and stable home network. My UniFi Dream Machine was more than able to handle the amount of data to the DS1821+.
What Will Become of The DS415Play?
There is still life in my old trusty DS415Play as it can still handle low-intensive tasks where background processes are kept to a minimum. Any form of file indexing on a large scale would not be suitable.
I see the DS415Play being used purely as a network storage device avoiding the use of Synology apps. For example, a suitable use case could be an off-site backup at my parent's house.
Final Thoughts
Even though the migration process wasn't as smooth as I hoped it would be, there was a silver lining:
- A Considered Setup Approach: As a long-term Synology user, I consider myself more experienced and understood more about the configuration aspects, allowing me to set up my new NAS in a better way.
- Data Cleanse: When faced with limited migration routes, it makes you question what data is worth moving. I am somewhat of a data hoarder and being able to let go of files I rarely use was refreshing.
- Storage Pools: I was able to set up Storage Pools and Volumes in a way that would benefit the type of data I was storing. For example, Surveillance Station recordings will write to a single hard disk, rather than constantly writing to multiple disks based on a RAID setup.
After completing the full migration, the following thoughts crossed my mind: How long will this Synology serve me? When will I have to perform another migration?
It has taken me eight years to outgrow the DS415Play. The DS1821+ is double in capacity and more so from a specification perspective (thanks to its upgradeability). Maybe 10 to 14 years?
As someone who has just turned 38, I can't help but feel a sense of melancholy thinking about where I will be after that duration of time and whether the investment to preserve memories to my Synology will truly be the success I hope it will be.